How to EQ Reverb

Have you ever felt like your mix absolutely fell apart after applying reverb? The problem could be that you didn't apply EQ to your reverb. In this article you'll learn when to add EQ to reverb and how to do it so your mixes will sound clean and professional.
Note: This article may contain affiliate links, meaning I would receive a commission - at no cost to you - for any products you purchase.
How to EQ Reverb
Note: if you want to learn all about how to master the use of reverb, I highly recommend the book "The 3 Space Reverb Framework" by Nathan Nyquist.
It’s important to think of reverb as another instrument in your mix that needs EQ just as much as any other instrument. Most amateur engineers will only decide on the amount of reverb that they use on each track, though most won’t spend time processing their reverb after the fact (be sure to also check out this article on how to compress reverb).
There are several ways to EQ reverb, and the method you choose will have a lot to do with your arrangement and mix.
Let’s dive into a few details regarding how to EQ reverb in your mix.
By the way, if you're looking to upgrade the sound of your reverbs, here are the best reverb plugins.
EQ before or after reverb?
We often recommend EQing before your reverb to get the best and cleanest sound. When you boost or cut the frequencies going into your reverb, you won’t have a reverb plugin processing a bunch of unwanted frequencies.
There is an exception to this rule, however. In some instances, you might need to EQ your track very subtly after the reverb when you get deeper into the mixing process.
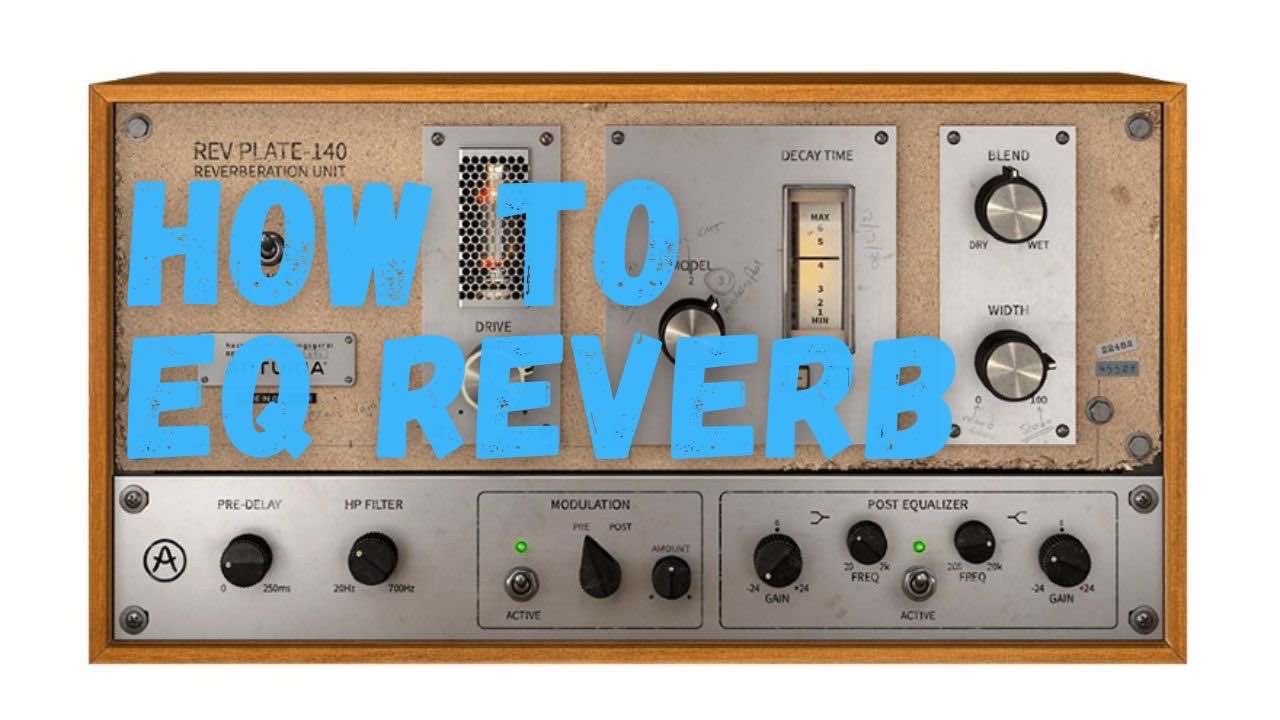
You’ll often find reverb plugins that come with EQ parameters built-in. It can be difficult to know whether these EQs are pre or post-effect, though they are certainly worth experimenting with if your reverb needs a bit of love.
The Goal of EQing Reverb
While reverb sounds lovely and lush on its own, it can take up tons of unnecessary space in a mix. For this reason, we treat reverb like any other instrument, puzzle-piecing it into a mix to free up space and help it gel with other instruments.
We often want to take the low-end out of reverb with a high-pass filter, as the low-end that is spread throughout the stereo spectrum can start sounding muddy. We also often want to take out the high-end with a low-pass filter to push our reverb further back in the mix.
The Abbey Road Reverb Technique

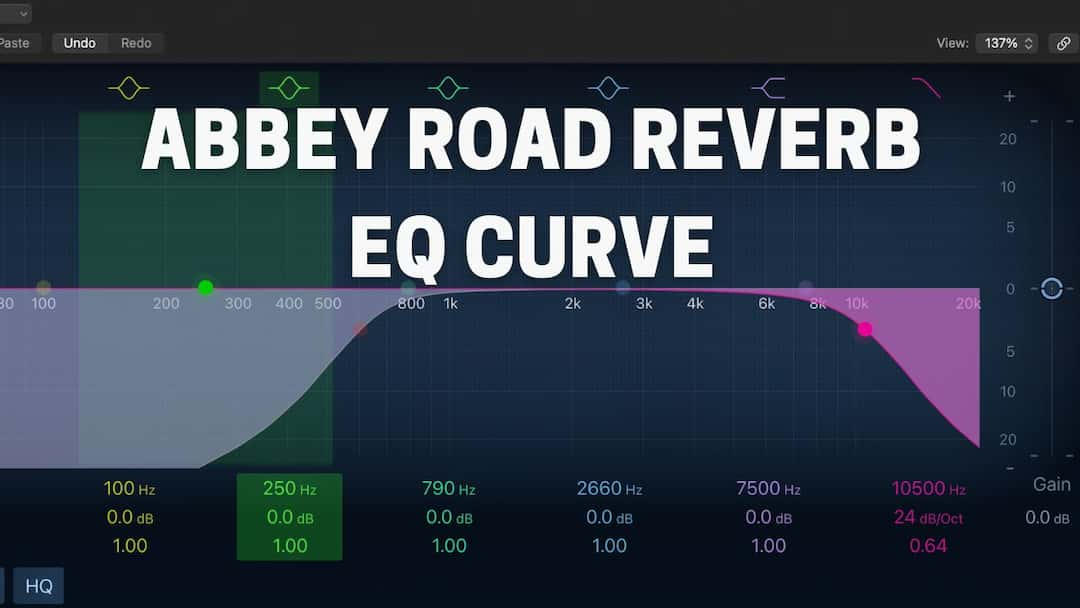
One of the easiest ways to free up space in a mix with reverb is with the "Abbey Road Reverb Technique."
To start, place an EQ plugin before you reverb plugin. Set a high-pass filter up to 600 Hz to take out all of the low-end mud. Then, set up a low-pass filter to take out all of the frequencies above 10kHz.
In fact, this technique is so powerful and essential to the classic Abbey Road sound that plugins like Waves Abbey Road Chambers include built-in high and low pass filters!
While it may seem like a simple trick, the Abbey Road Reverb Technique can open up space in your mix like nothing else, getting rid of jumbled low-end and taking out distracting high-end frequencies.
Reverb EQ Settings to Remove Mud and Add Clarity
While we recommend using the Abbey Road Reverb Technique to start removing mud and adding clarity to your mix, it can often require a bit of tweaking, depending on your mix. For example, you might not want to push your high-pass filter all the way up to 600 Hz if you’re working with a minimalistic mix, as that additional low-end might be helpful.
In the same way, you may choose to take a bit more top-end off with your low-pass filter if the high-end is a bit distracting.
The important thing is to listen closely and see if there are any other muddy frequencies in the low-mids that you might want to tame or remove. These frequencies can really cover up a vocal, especially. So be sure to check in the 600-1KHz range to make sure there isn't anything to muddy or honky on your reverb.
Mid-side EQ Settings to Enhance Width
To make a mix sound wider with mid-side EQ, you can start by rolling off the lows in the side channels. Lows and low-mid frequencies tend to take up a bunch of space on the sides and can muddy up a mix. High frequencies have the ability to live peacefully on the sides of a mix, which is why the main goal is to make them sound more prominent. This article will teach you all about using mid-side EQ.
How to use EQ Guides
To help you get the most out of your EQ plugins, we've put together these detailed guides to teach you how to use EQ on some of the most popular instruments.
From a Frustrated Producer in a Ragtag Bedroom Studio to Major Placements on TV Earning $1,000s!
My name is Evan, and I've been making music since around 3rd grade. I'm from San Diego, California, but I've lived in Washington, DC for the last 20 years.
While I still have a full-time day job, I have created systems that have allowed me to produce dozens of songs a year in my spare time.
My songs have been on Netflix, TV shows like the 90 Day Fiance, an award-winning indie film, and NPR’s “All Thing Considered.” They've also been streamed millions of times.
In addition to being a music producer, I am passionate about teaching people how they can make professional-sounding music and earn money licensing it, all in their spare time.
Thousands of musicians, like yourself, have trusted me to guide their musical journey. My YouTube videos have been watched nearly a million times. And my story has been in Forbes, Side Hustle Nation, and the Side Hustle School.


